The Better Lawn Blog
Insight and industry knowledge on all things important to your lawn.
From landscaping tips to fun ideas for yard play, we cover a wide range of meaningful topics on our blog page.
How-To: Install a Wooden Fence
June 3, 2015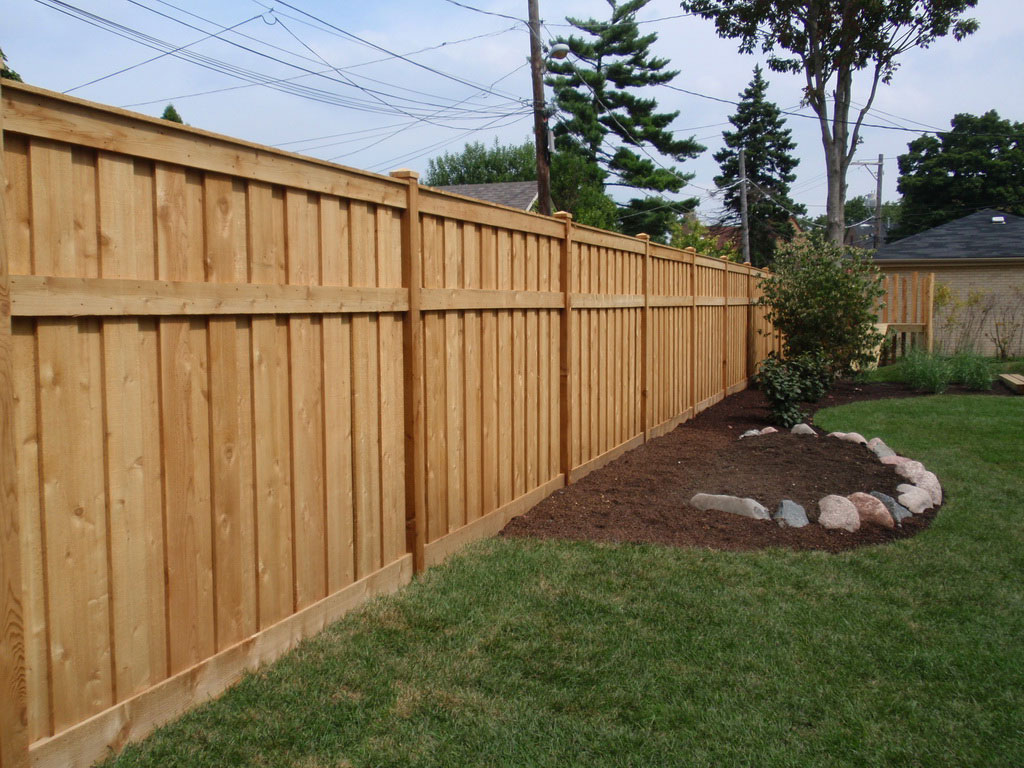
Many homeowners have different reasons for installing a fence: pets, children, or simply for better curb appeal. Below we have a detailed How-To guide on what you will need for this project and some video links to help you through it. It’s a big undertaking but with this guide, we think you’ll have your wooden fence surrounding your lawn in no time.
Tools: Materials:
Posthole Digger 4 x 4 x 12 posts (treated)
Level 4 ft. sections of 2 x 4s
Hammer Concrete Mix
Circular Saw Galvanized Nails
Drill String
Tape Measure Ground Stakes
Before You Dig
- Discuss your plans with neighbors whose property is along your fence line to ensure your fence is on your property.
- Check for underground utilities.
- Check zoning laws and homeowners associations, which regulate the fence size and placement.
Now let’s get started!
- Stake out your fence line from beginning to end, plus corners and gates.
- Tie a string between corner post locations. This will define the line where posts will be placed.
- Measure your panels. Using the same measurement as the length of your panels, stake out the line post locations. Mark each location with a stake. Ensure the stakes are touching the string in order for the posts to be in line.
- Using your posthole digger/auger, dig the holes 10” to 12” wide and 6” deeper than needed. Backfill each hole with 6” of gravel or cement to drain water away from the post bottom.
- Install corner and end posts. Tie another string between those posts to keep them in line.
- Brace the posts using 4 ft. sections of 2 by 4s nailed to the post diagonally and then nailed to stakes in the ground while the concrete sets.
- Fill the holes with concrete mix. If you want to conceal it, pour to the top, then cover with soil after concrete has set for 1 to 2 days.
To learn how to attach panels and build a gate, please see video link below.
Remember
When digging, don’t leave dirt on the grass. Place a tarp or dropcloth down to catch dirt and soil dug up from the post holes and dispose accordingly. However, do not leave the tarp on your grass, as it will turn brown from lack of sun exposure and oxygen. A second option is to use a wheelbarrow to cart off the dirt and soil.